I. Introduction
Pro/ENGINEER is a 3D CAD/CAM software developed by American Parametric Technology Corporation (PTC). TOOLKIT is a secondary development tool specially provided by PTC. In TOOLKIT, PTC provides users with a large library of C language functions. By calling these low-level functions, users can conveniently and securely access Pro/ENGINEER's database and internal applications for secondary development and expand some specific functions.
As a successful 3D CAD/CAM software, Pro/ENGINEER already includes a more efficient plotting module that can be used for part drawing tasks of any shape, but for some parts that are similar and geometrically close to the drawing requirements In this case, it is not worth the effort to spend a lot of time on re-arranging the view and mark size. Secondary development based on Pro/ENGINEER's existing plotting module is more suitable for such situations.
At present, the products designed in many design departments have certain relevance, which makes many design processes have the problem of repeated labor. For this reason, on the basis of Pro/ENGINEER2000i2, the author participated in the development of a relatively complete shaft part design (3D model), part drawing, part processing (machining tool code generation) system, allowing some general design process Automated processing to reduce the workload of the designer (this article only focuses on the part drawing part of it). For the part design, the system adopts a relatively simple family table method (that is, pre-build the product model manually, use it as a generic part of the family table, then define various control parameters in the family table to control the shape size of the model, and in the program The required derivatives are obtained by changing the values ​​of the various parameters. For the program design of the parts drawing part, it is very convenient to obtain the shape and size information of the corresponding shaft parts according to the parameter names defined in the previous part design.
Second, the view generation method analysis
1. Drawing area division
In order to avoid the phenomenon of inter-view interference, size overlap, etc. during the automatic generation of drawings, the drawings can be divided into specific areas in advance according to requirements. For shaft parts with similar structures and less complex geometric shapes, the entire drawing can be divided into a main view area, a section area, a table area, and a comment area. Then adjust the view scale according to the determined size and position of the area to generate a more reasonable view. This avoids positional conflicts between views and dimensions on the drawing.
2. Generate main view and section view
The key to generating a view is to determine the direction of the view and the scale of the view. For the view orientation, if the direction selection is wrong, the shape of the part cannot be correctly expressed. In the function of TOOLKIT to generate the main view (General View), you can adjust the view direction by inputting different orientation matrix (Orientation Matrix). For the view scale, choosing the appropriate scale factor can make the view as clear as possible without causing cross-border and regional interference.
For shaft parts, due to the specific shape characteristics, a cross-sectional view at each keyway is generated in addition to the main view when generating the drawing. View generation function ProDrawingGeneral by calling TOOLKIT
viewCreate() can easily generate the required view (note: the appropriate default reference plane is determined during the part model design phase, so that the direction-oriented problem can be ignored in the plot phase, ie the direction matrix can be replaced by the unit matrix; view scale The default is 1:1). On this basis, the view contour extraction function ProDrawingViewOutlineGet() provided by TOOLKIT is called to calculate the outline size of the view, and then the view scale is re-set according to the size of the previously divided area, and the view of the appropriate size is automatically generated.
Next page
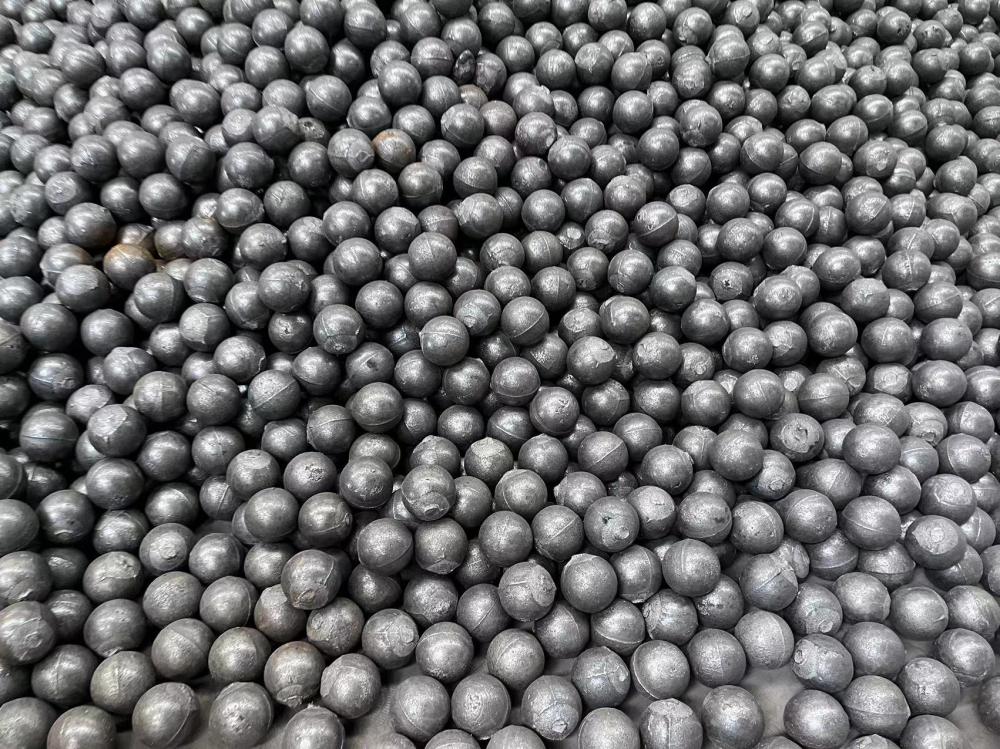
Features of cast steel balls include:
1. High hardness: Cast steel balls have a high hardness, usually in the range of 60-65 HRC, which makes them have strong wear resistance when grinding materials.
2. Good impact resistance: Cast steel balls have good impact resistance and can withstand large impact forces without rupture or deformation.
3. High wear resistance: The Cast Steel Ball has high wear resistance and can maintain its shape and surface quality for a long time in the process of grinding materials, reducing wear and damage.
4. Uniform hardness distribution: The hardness distribution of the cast steel ball is relatively uniform, which can provide a more stable grinding effect and reduce the phenomenon of over-grinding and under-grinding of the material.
5. Good corrosion resistance: Cast steel balls are usually made of high-alloy steel materials, which have good corrosion resistance and can be used for a long time in humid and corrosive environments.
6. Wide applicability: Cast steel balls can be used in various grinding equipment and processes, such as ore mills, cement mills, ball mills, etc., suitable for grinding materials with different hardness and properties.

7. Simple production process: The production process of casting steel balls is relatively simple, the cost is low, and it can meet the needs of large-scale production.
In general, the cast steel ball has the characteristics of high hardness, good impact resistance, high wear resistance, uniform hardness distribution, good corrosion resistance and wide applicability, and is widely used in the grinding process of mining, cement, building materials and other industrial fields
Cast Iron Grinding Ball,Medium Chrome Steel Ball,High Chromium Alloy Ball,Hardware Grinding Tools
Xuzhou Surun wear-resistant material Co., LTD , https://www.suruntools.com
![<?echo $_SERVER['SERVER_NAME'];?>](/template/twentyseventeen/skin/images/header.jpg)