At present, the numerical control rate of mechanical processing equipment is being improved. In 1999, the numerical control rate of our national mechanical processing equipment was 5-8%, which is currently expected to be between 15-20%.
First, what is a CNC machine tool
Car, milling, planing, grinding, boring, drilling, electric sparking, shearing, bending, laser cutting, etc. are all mechanical processing methods. The so-called machining is to process metal blank parts into the required shape, including dimensional accuracy. And geometric precision in two ways. The equipment that can complete the above functions is called machine tool, and the CNC machine tool is developed on the ordinary machine tool. The meaning of numerical control is digital control. After the CNC system is installed on the machine tool, the machine tool becomes a CNC machine tool. Of course, the development of ordinary machine tools to CNC machine tools is not just a simple installation system. For example, from the development of milling machines to machining centers, the structure of machine tools has changed. The most important thing is to add a tool magazine, which greatly improves the accuracy. The main functions of the machining center are the functions of milling, boring and drilling.
The CNC equipment we generally refer to is mainly index-controlled lathes and machining centers.
At present, China's various types of CNC machine tools can be produced, the level is uneven, some are world-level, some are 10-15 years behind, but if the state supports it, it is not a problem to catch up, for example: last year, Shenyang Machine Tool Group The acquisition of the German Sis Machine Tool Company is of great significance. If the technology is digested, the gap can be shortened. Dalian Machine Tool Company also introduced a number of advanced technologies from Germany. A Shanghai company purchased Chiba, a famous Japanese machine tool manufacturer.
In recent years, with the rise of Chinese manufacturing, many European companies have closed down or been merged, such as Ma Ma, Spinner and so on. The Japanese economy is in a downturn, and many machine tool manufacturers that are famous in the 1980s have closed down, such as the Niigata Iron Works.
Second, the development direction of numerical control equipment
Six aspects: intelligent, networked, high speed, high precision, compliance, and environmental protection. At present, the precision of machine tools in Germany and Switzerland is the highest. In combination, Germany has the highest level and Japan has the largest output value. The US machine tool industry is generally. Mainland China, South Korea. Taiwan is at the same level. But in terms of the category and type, we should be able to enter the top four in the world.
Third, the CNC system
It consists of a display, a controller servo, a servo motor, and various switches and sensors. At present, the world's three largest manufacturers are: Japan's Fayake, Germany's Siemens, Japan's Mitsubishi; the rest are also French, Muang, Spain. Domestically by Huazhong CNC, aerospace CNC and so on. The domestic CNC system has just begun industrialization and the quality is normal. High-end systems are all imported.
Huazhong CNC has developed rapidly in recent years, and the software level is quite good, but the difference is worse on the electrical hardware, and the failure rate is relatively high. Huazhong CNC also intends to enter the CNC machine tool industry, but the hardware of the machine tool is not good, the quality accuracy is general. At present, some large domestic factories have not adopted Huazhong CNC. The simple CNC system of Guangzhou Machine Tool Plant is also good.
The weakest link in our country's machine tool industry is in the CNC system.
Fourth, machine tool accuracy
1. Machining machine tool accuracy is divided into five types: static precision, machining accuracy (including dimensional accuracy and geometric accuracy), positioning accuracy, and repeat positioning accuracy.
2, machine tool accuracy system: At present, our country recognizes roughly four systems: German VDI standard, Japanese JIS standard, international standard ISO standard, national standard GB, national standard and international standard.
3, look at the level of a machine tool, depending on its repeat positioning accuracy, if a machine tool's repeat positioning accuracy can reach 0.005mm (ISO standard., statistical method), is a high-precision machine tool, at 0.005mm ( The following ISO standards and statistical methods are ultra-high-precision machine tools and high-precision machine tools. The best bearings and lead screws are required.
4, processing high-precision parts, not only requires high precision machine tools, but also good process methods, good fixtures, good tools.
Next page
Metallographic Microscope Series
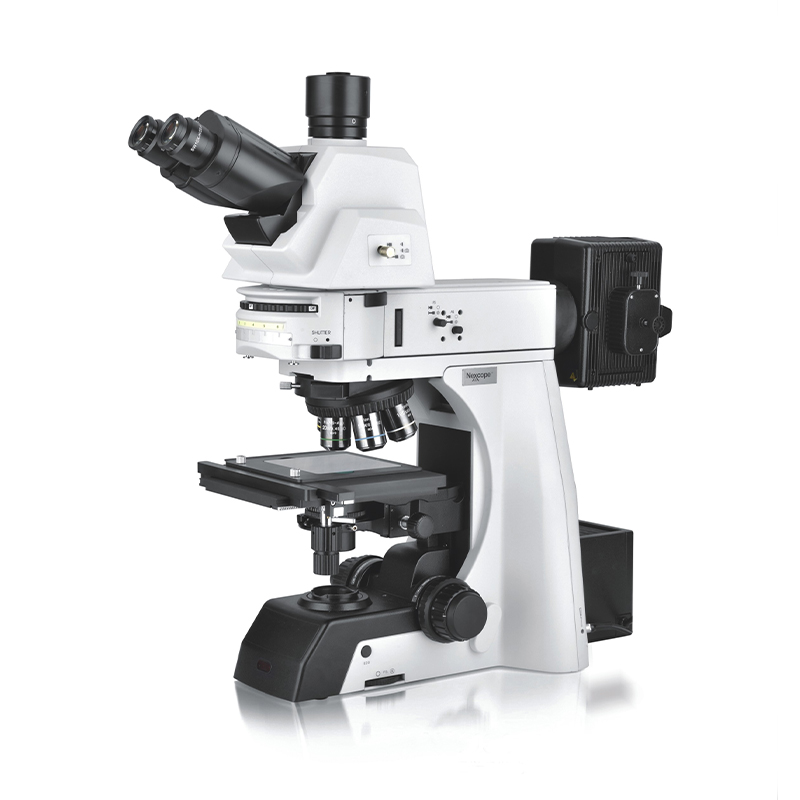
The structure of optical metallographic microscope generally includes magnification system, optical path system and mechanical system, among which the magnification system is the key part. The preparation process of metallographic samples generally includes five steps: sampling, rough grinding, fine grinding, polishing and etching. The interception of samples from metallic materials and parts to be tested is called "sampling". Selection of sampling sites and grinding surfaces must be based on analysis requirements. The size of the sample is not uniform, from the perspective of easy to hold and grinding, the general diameter or side length of 15~20mm, 12~18mm high is suitable. For those too small, irregular shape and the need to protect the edge of the sample, you can adopt Mosaic or mechanical clamping method. For the inlay of metallographic sample, the appropriate size (about φ L5-20mm) of steel tube, plastic tube or paper shell tube is placed on the smooth plastic (or glass) plate, and the sample is placed in the tube to be ground face downwards into the filler, which can be solidified and hardened for a period of time. 3) Chamfering On the premise of not affecting the purpose of observation, the edges and corners on the sample should be ground off to avoid scratching the sandpaper and polishing fabric.
metallurgical analysis,optical microscope for metallurgy,metallurgy microscope
TROJAN (Suzhou) Technology Co., Ltd. , https://www.trojanmaterials.com
![<?echo $_SERVER['SERVER_NAME'];?>](/template/twentyseventeen/skin/images/header.jpg)